In this tutorial you’ll look at two very quick and easy ways to make selections in Photoshop: The Quick Selection tool and the Magic Wand tool.
The Quick Selection tool
This tool is new in Photoshop CS3, and it’s a fantastic way to select an object quickly. Using this tool, you “paint” your selection using a brush. You can even adjust the size, hardness, spacing and angle of the brush, just like you can with the Healing Brush and other tools.
As you paint, the selection automatically expands to hug the contours of the object you’re selecting. While it doesn’t always get it 100% right, with a bit of tweaking and judicious use of CS3’s Refine Edge command you can get an excellent result in a very short space of time.
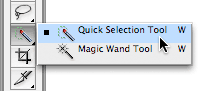
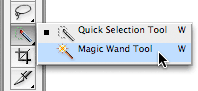
To select this tool, click the Selection Tool icon in the Tools palette. Hold the mouse button down, then choose Quick Selection Tool from the menu that pops up:
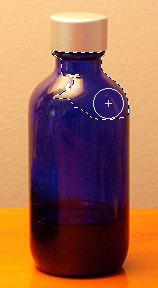
Now choose a brush size from the Brush option in the options bar, and start painting around the inside edge of the object you want to select. As you paint, Photoshop fills out the selection to follow the high-contrast edge around the object:
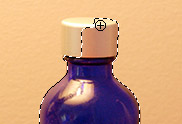
Switch to a smaller brush diameter when working in tight corners:
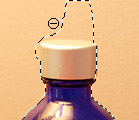
If the tool accidentally selects an area outside your object, hold down Alt (Win) or Option (Mac) while you drag over the accidentally selected area. This subtracts from the selection:
Quick Selection tool options
As well as being able to control the brush diameter, hardness, spacing, angle and roundness using the Brush option in the options bar, you can also choose from the following options:
- Sample All Layers
- Check this option to make a selection based on the combined pixels in all visible layers. Uncheck this option to make a selection based only on the active layer’s pixels.
- Auto-Enhance
- Check this option to reduce blockiness in the selection edge (see below). It’s similar to using the Refine Edge command, but the effect is automatic and subtler.
The Magic Wand tool
The Magic Wand tool is a great way to select irregular-shaped objects that are just one colour (for example, a red rose, or a person’s hand). To activate the tool, click on the Magic Wand icon in the Tools palette:
To use the tool, click inside the object you would like to select. You’ll see that the tool selects all the pixels that are similar in colour to the pixel you clicked on:
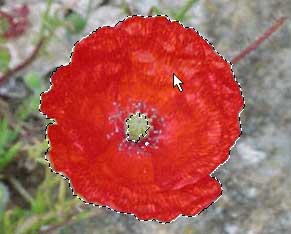
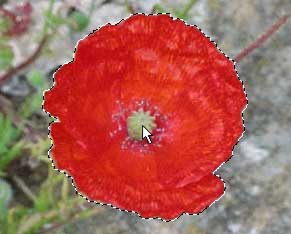
Often, your object will contain a couple of colours; in the above example, the flower has a green centre as well as the red petals. To select the centre as well, Shift-click in the centre to add to the selection:
“Tolerance” setting
The Tolerance setting lets you to control the sensitivity of the Magic Wand tool:
If the Tolerance value is high, a wider range of colours will be selected. For example, if you click on a red pixel when the Tolerance is set very high, the Magic Wand tool might also select pixels that are pink and orange. If you set the Tolerance to a lower value, then only pixels that are very similar to the shade of red you clicked on will be selected. Experiment with different Tolerance values so that most or all of your object gets selected, without selecting the background as well.
“Contiguous” option
If you check the Contiguous box next to Tolerance, then only adjacent areas of the same colour will be selected. If you deselect Contiguous, all pixels of the same colour will be selected.
Further reading
As well as using the Quick Selection and Magic Wand tools, there are many other ways you can select pixels in Photoshop. Take a look at:
Leave a Reply